Last fall, a dad pulled me aside after practice and said his son’s arm had started dragging in July — by fall ball it was down 6 mph. The kid was 13, had been pitching since 8U, and had never done a single upper body strength exercise. Not because anyone said no. Nobody had ever told him to.
We spent eight weeks fixing that. Not with a bench press or a curl bar. With band pull-aparts, inverted rows, med ball slams, and a push-up progression he had to earn. By the end of fall he’d reclaimed the 6 mph — and more importantly, his arm wasn’t barking at him after long outings.
The short answer on upper body strength for youth baseball: For players under 10, bodyweight only — push-up progressions, inverted rows, bear crawls. At 10 and up, add light resistance bands and medicine ball work. At 13 and up, introduce dumbbells under qualified supervision. Train two to three sessions per week, never on back-to-back days during the season. And before you add a single pressing exercise, spend three to four weeks building the posterior chain — the upper back, rear deltoids, and rotator cuff support muscles that absorb the force your arm produces on every throw.
That last piece is what most programs skip. It’s also the whole point of this guide.
Why the Posterior Chain Comes First
Every throw and every swing in baseball is a deceleration event on the back side. When your shortstop guns one across the diamond, her posterior chain — rear deltoids, rhomboids, external rotators — has to absorb the force her arm just generated. Weak back equals sore arm equals lost velocity. Every time.
In 20-plus years of coaching I’ve seen hundreds of kids walk in with tight chests, rounded shoulders, and no posterior strength to speak of. Some of it is posture from school desks and screens. A lot of it is that youth baseball practice loads the anterior side constantly — throwing, swinging, pushing — without ever balancing the back side.
We do not put push-ups into a new player’s program until they’ve done three to four weeks of pull-apart and row work first. We want to confirm the back can handle what the chest is about to load. The results speak for themselves: fewer “my shoulder hurts” conversations mid-season, and players who hold their velocity deep into games instead of losing it after 40 pitches.
Age-by-Age Starting Points
Ages 7–9: Bodyweight only, full stop. The goal here is movement literacy — teaching the body what a good pull, press, and hip hinge feel like before any external resistance enters the picture. Wall push-ups, bodyweight rows from a low bar, and bear crawls are the entire program. No weight vests, no bands, no exceptions.
Ages 10–12: Introduce resistance bands and light medicine balls. Focus on controlled movement through full range of motion. We always pair this phase with hip mobility exercises for youth baseball in the warm-up because hip mobility and upper body power are connected — a rotational swing cannot generate force from a stiff lower half no matter how strong the arms are. Youth coaches who specialize in baseball power development consistently find that med ball rotational work programmed twice a week for 8–10 weeks produces meaningful bat speed and throwing velocity gains in this age group. If you’re unsure whether your 10- or 11-year-old is ready, we cover when kids can start weight training in depth — the short version is earlier than most parents think, as long as technique comes before load.
Ages 13 and up: Dumbbell training becomes appropriate with proper instruction. This is when the training adaptations start looking like real baseball outcomes — measurable improvements in bat speed, exit velocity, and throwing velocity that show up on the field within a season.
The Core Exercises
Band Pull-Aparts
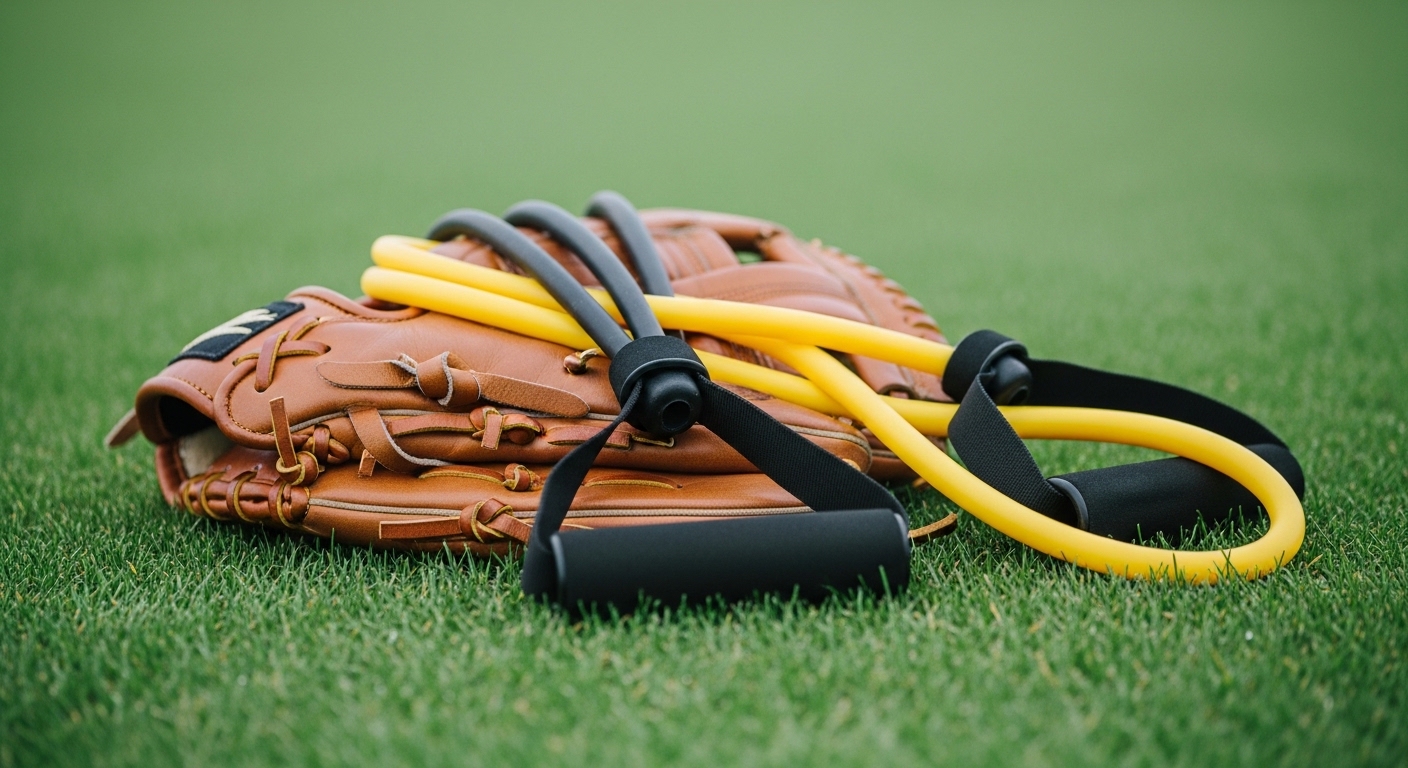
The most underused exercise in youth baseball. A light resistance band at chest height, arms straight, pull it apart until both arms extend out to a T. This lights up the rear deltoids and rhomboids — the muscles that decelerate your arm and keep your shoulder in the socket under load. We run two sets of 15 at the start of every practice during the season, before the first throwing rep. Pick up resistance bands at theranchsports.com — a pack with multiple resistance levels lets kids progress without changing the movement pattern, and they’re 10% off with no sales tax shipped.
Inverted Rows
A horizontal pull that trains the same muscles as a pull-up but from a position most 10-year-olds can actually execute. Set a bar at waist height, lie underneath it, keep your body straight as a plank, and pull your chest to the bar. This is our primary pulling exercise for 10–12-year-olds before they’ve earned a full pull-up. Once a player can do 12 clean inverted rows, we lower the bar or elevate the feet.
Push-Up Progressions
Not all push-ups are the same. A chest-flopping, elbow-flaring push-up teaches nothing except how to load a shoulder incorrectly. We use three stages: wall push-up (vertical) first, then incline on a bench, then a floor push-up with a dowel across the back — it should touch three points (head, mid-back, tailbone) or the position isn’t there yet. A player must pass stage one before moving to stage two. There is no shortcut.
Medicine Ball Rotational Throw
Stand sideways to a solid wall, light 4–6 lb ball in both hands, load the back hip, rotate through the hips and trunk, and throw into the wall. The arms are passengers — the hips and core do the work. This directly trains the same movement pattern as a swing and a throw, which is why coaches who specialize in youth power development lean on it hard. The carryover to exit velocity and throwing speed is real, and athletes who do this work twice a week hold their bat speed later in games.
Bear Crawl
Massively underrated, especially for ages 7–12. Four-point position, hips level with shoulders, move opposite hand and foot together for 20 yards. This builds shoulder stability and upper body endurance under a dynamic load that isolated exercises can’t replicate. I still use bear crawls with my high school players. The athletic carryover is genuine — it’s also one of those drills that transfers directly to wrestling, football, and soccer, which matters because athletes who play multiple sports develop better long-term than those who specialize early.
The Upper Body Circuit
Run this 2x per week in the off-season, 1x per week in-season (after practice, never before throwing).
Programming Notes
Off-season: Two to three sessions per week, every other day. This is when adaptation happens and real base-building is possible. If your player is a pitcher, pair this circuit with arm slot work — upper body strength and mechanics development compound well together when there’s no competitive schedule compressing recovery.
In-season: One session per week at half the volume. The goal in-season is maintenance, not gains. Keep the movements, cut the sets.
Non-negotiable rule: No upper body strength work the day before a pitching start or the day after a high-pitch-count outing. Recovery is part of the program.
What You Are Actually Building
When our athletes run through this circuit, we’re not just building baseball players. We’re building athletes. A kid who can do 12 clean inverted rows, hold a plank bear crawl for 20 yards, and drive a med ball through a wall-rotation with his hips — that kid is also a better wrestler, a better wide receiver, a better soccer midfielder.
The Long-Term Athlete Development model is clear: the 8–12 window is the time to build fundamental movement competence and general strength capacity. Baseball-specific power work has its place, but it compounds on top of a broad athletic base. Build the posterior chain first, progress the body before adding load, and keep the work athletic rather than simply heavy.
The arms that hold their velocity in August are the ones that spent the winter earning it the right way.