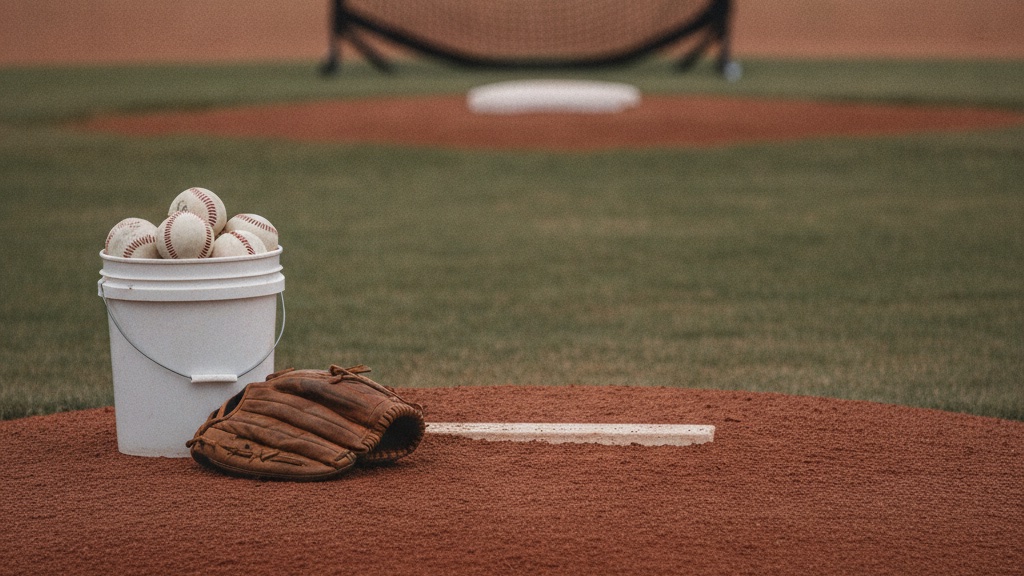
Last winter one of our 15-year-olds came back from a month of pulldowns hitting 81 on the radar from a running start. Two weeks later he got on a real mound for his first bullpen and sat 74. Same arm, same kid, seven miles an hour gone. Nothing was wrong with his arm. The slope changed his timing. He rushed down the hill, his front foot landed early, his hips and shoulders opened together, and all the speed he’d built on flat ground leaked out before the ball left his hand.
The short answer: Mound drills add velocity by teaching a pitcher to use the slope: to ride his back leg down the hill longer, land with a firm front side, and let the hips open before the shoulders. For pitchers 14 and up, run two or three mound drill days a week in the offseason. Pair every drill throw with a full-delivery throw so the feel carries over, and keep the totals inside normal workload limits. Velocity that only shows up in drills doesn’t count. It has to show up from the windup and the stretch.
Why Velocity Gets Lost on the Mound
Flat-ground throwing and mound throwing are not the same movement. A regulation mound sits ten inches above home plate, and the slope keeps dropping through his stride. If he uses it well, the drop turns into forward momentum and a longer stride. If he doesn’t, it turns into a rushed, out-of-control fall toward the plate.
The players we see losing velocity on the mound usually make one of three mistakes:
- Rushing. The front foot lands before the hips have had time to load and move forward, so the arm is late and has to catch up.
- Leaking open. The front shoulder flies open as the front foot hits, so the trunk has nothing to snap back from. We cover the rotation piece in depth in our guide to trunk rotation mechanics for youth pitchers.
- Collapsing the front leg. The front knee keeps bending after landing instead of firming up. A soft front leg can’t block, so energy that should go up the chain drains into the dirt.
Every drill below targets at least one of those three.
What Actually Drives Velocity (and What Mound Drills Can’t Fix)
Tread Athletics has trained thousands of pitchers, and their velocity framework is a useful map. It breaks velocity into four factors: strength, mechanics, intent, and timing. Their best-known case studies are college arms. One NAIA pitcher went from 89 to 98 in under ten months. None of those jumps came from drills alone. The strength and the mechanics were both built in.
That’s the honest framing for a 14- or 15-year-old. Mound drills mostly improve timing and mechanics. They won’t give a kid strength he doesn’t have. If your pitcher hasn’t started a real lower-body program, start there. Our youth baseball strength and conditioning program for ages 12–15 and med ball training for baseball players are the base these drills sit on. Drills and strength work together. Neither one replaces the other.
The Mound Drill Sequence
Run these in order. Each drill builds a piece the next one depends on. Do the first two at 70–80% effort and the later ones at full intent. Use a catcher or a pitching net at theranchsports.com so you aren’t chasing balls between reps.
All six drills add up to about 43 throws. With a few warm-up throws on the mound, that’s a 45–50 pitch session. Treat it as a bullpen in your workload count, not as extra.
The Mistake Most Velocity Programs Skip: The Transfer Rep
Here’s what the top-ranking drill lists leave out, and we learned it the hard way. A drill only matters if it changes the normal delivery.
Two seasons ago I had a junior who could throw 83 on a walking windup and 77 out of the stretch, every single week. We kept adding drills and the gap never closed. What fixed it was Drill 6. We forced the pairing: drill throw, game throw, drill throw, game throw. And we told him to copy the feel of the drill rep, not its speed. Within about five weeks his stretch velocity was 80. The drills hadn’t changed. What changed was how we connected them to his real delivery.
If your pitchers are throwing great in drills and flat in games, don’t hunt for a new drill. Shrink the gap between the drill and the delivery.
A Sample Weekly Plan (Offseason, 14 and Up)
| Day | Focus |
|---|---|
| Mon | Lower-body strength + light catch play |
| Tue | Mound day: Drills 1–6, ~45–50 throws |
| Wed | Recovery catch, mobility, long toss at low intent |
| Thu | Upper-body strength + med ball throws |
| Fri | Mound day: Drills 2, 4, 6 only, ~30 throws |
| Sat | Long toss at higher intent |
| Sun | Off |
Wednesday’s and Saturday’s throwing should follow a structured long toss program for youth pitchers, not an all-out session. Once the season starts, cut to one short mound drill day. Our guide to in-season velocity training for high school pitchers covers how to keep the gains without taking anything out of game days.
Workload Rules We Don’t Break
Velocity work raises the stress on the arm. That’s the point, and it’s also the risk. For pitchers 15–16, MLB and USA Baseball’s Pitch Smart guidelines cap game pitches at 95 a day (105 for ages 17–18) and require four days of rest after 76 or more. Pitchers 13–14 have the same 95-pitch cap but hit the four-day rest mark sooner. We apply the same thinking to mound drill days:
- A mound drill day is a pitching day. Count every throw from the slope.
- No mound drill day within 48 hours of a start.
- No velocity drill days when a pitcher reports arm pain or soreness that lingers into the next morning. That kid goes to recovery catch and we talk to his parents.
- Take at least two to three months off from overhead throwing every year. Velocity built over a winter is useless if the arm doesn’t make it to spring.
Pick a Plan and Stay on It
Tread Athletics published a warning about “program hopping”: pitchers and families who switch programs every few weeks chasing a faster gain. Our experience matches it exactly. Whenever a kid’s velocity stalls, there’s a new program, a new drill video, and a new weighted-ball set in the bag by Monday. The body needs weeks of the same stimulus to adapt. Hopping from one program to the next restarts that clock every time.
Commit to this sequence for at least eight weeks. Retest velocity every two weeks under the same conditions: same mound, same radar, same warm-up. Change one variable at a time. If the numbers stall after eight honest weeks, look at strength first, then the transfer rep, before you change the drills.
Where Mound Drills Fit in Your Pitching Program
Mound drills sit on top of the fundamentals. A pitcher who doesn’t yet use his back leg well should start with our guide to using your legs when pitching before adding momentum drills. Pitchers who move well and are strong enough are ready for this sequence. For more pitching development resources, see our baseball coaching hub.
Download this as a free PDF — get the free PDF here
Get "Mound Drills to Improve Pitching Velocity (Ages 14+)" as a free PDF
Instant download, plus free coaching resources in your inbox. No spam.
✓ You're in — here's your download
↓ Download the PDFBookmark it for the field — and check your inbox for more free coaching resources.