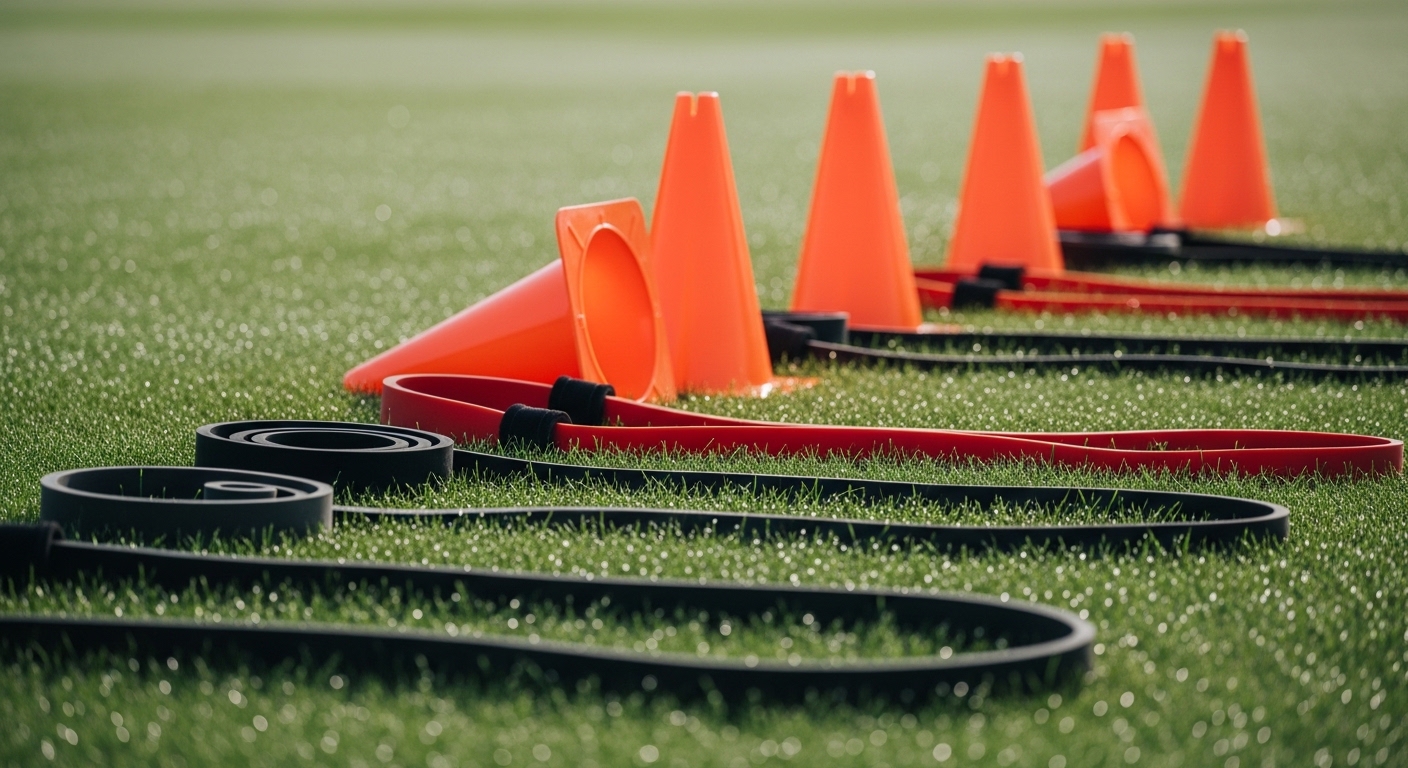
Last preseason I was working with a 9-year-old shortstop — good hands, quick feet, the kind of kid who just gets the game. But every time he had to change direction fast or come up throwing across his body, something broke down. So I ran him through a single-leg balance test. He lasted about two seconds before grabbing a teammate’s shoulder. That was the moment I pulled out a resistance band, not another cone drill.
Resistance bands are safe and appropriate for youth athletes as young as 8, provided they have first built basic bodyweight movement competence. They develop the hip stability, posterior chain strength, and anti-rotation control that transfer across every sport — without the joint loading that makes early free-weight training a risk for still-developing skeletons. The keys are matching band resistance to the athlete’s age and strength level, and treating bands as a genuine stimulus rather than a warmup prop.
Here is exactly how we build it.
Why Bands Work So Well During the Development Years
The physics of resistance bands give them a natural advantage for young athletes: tension increases as the band stretches, so resistance is highest at the end of the movement — exactly when the joint is most stable and the muscle is best positioned to handle load. That is the opposite of how free weights interact with gravity.
For a 10-year-old building glute strength or shoulder stability, that ascending resistance curve is a genuine asset. If an athlete cannot complete the full range, the band simply does not stretch that far. There is no barbell to compensate around with poor form.
We also use bands because of what youth speed research consistently shows: slow young athletes are not slow because of poor sprint mechanics — they are slow because they lack the foundational strength to express speed in the first place. Research from performance coaches like the Overtime Athletes staff reinforces this: most youth athletes need more strength, not more sprint drills. Resistance bands are one of the most efficient ways to build that foundation across the developmental years, and unlike a weight room session, band work fits into 15 minutes of team practice with zero equipment setup.
LTAD Framework: When and How Much
Long-Term Athletic Development (LTAD) divides youth training into phases, and understanding which phase your athlete is in changes what you program.
Sampling Years (roughly ages 6–12) are about broad movement competence — not sport-specific strength, not maximum force production. This is the window where varied athletic exposure and multi-sport participation matter most, and resistance bands fit perfectly: light enough to develop coordination and basic motor patterns, but enough load to start building the hip and core stability every sport demands. Multi-sport athletes gain the most here because hip stability and posterior chain strength transfer to every game they play. If your athlete is still building their movement base, our guide to bodyweight exercises for young athletes covers what should come before external resistance of any kind.
Specializing Years (roughly ages 13–15) allow more specific loading. Heavier bands, faster movement tempos, and sport-relevant planes of motion (rotational work for baseball and softball, lateral resistance for soccer and basketball) become appropriate. This is also where we connect band work directly to sprint mechanics — resisted sprint drills in this phase convert strength gains into acceleration. For the full picture of what training loads are appropriate at each age, our youth weight training guide covers both the research and our practical progressions.
Investment Years (16+) treat bands as one tool in a more complete program. They are best used here for activation, rotational power, and speed-specific work alongside free weights — not as the primary strength stimulus.
Age-Appropriate Progression
Most resistance band articles online give an exercise list without explaining how difficulty should evolve as athletes grow. Here is our actual progression:
Ages 8–10: Light bands only — X-light or light loop bands. Focus on glute activation, shoulder pull-aparts, and single-leg stability. Sets should feel challenging at 8–10 reps, never grinding. Full rest between sets. The goal is learning the movement pattern, not building maximum strength.
Ages 11–13: Move to medium resistance. Add speed of movement — deliberate, not sloppy. Introduce resistance in sport-relevant planes: lateral band walks for soccer and basketball athletes, rotational band pulls for baseball players. Athletes should feel their muscles working, not just going through the motions.
Ages 14+: Heavier bands, combination movements (anchored sprint starts, band-resisted jumps), and unilateral loading under real resistance. Connect band work explicitly to sport performance: pair a hip hinge circuit with sprint timing immediately after and watch athletes feel the transfer firsthand.
The Drill Circuit
We run this as a 15-minute station in team practice or 2x per week in the off-season. Use a light-to-medium loop band for Steps 1, 2, and 6; a light tube band with handles for Steps 3 and 4; a medium loop band anchored firmly for Step 5.
The Gap Most Articles Miss
The biggest problem we see is not coaches skipping band work — it is coaches using bands so light they might as well not bother. A 13-year-old who can do 15 glute walks without fatigue is not building anything. The band needs to be genuinely challenging at rep 10. If your athlete finishes a set and says “that was easy,” go up a band resistance before the next set.
The second gap is specificity. Nearly every resistance band article lists exercises, then stops. What they do not explain is the transfer mechanism — why these exercises make athletes better at their sport. Hip extension strength from the kickback and the RDL is the same hip extension that creates acceleration in a sprint, power in a throw, and drive off the mound. Anti-rotation strength from the Pallof press is the same quality that keeps a batter stable at contact or a midfielder balanced through a tackle. When we pair band circuit work immediately before speed and agility drills in the same session, athletes feel the transfer in real time — they run harder and generate more force, and they start to understand why strength training matters for their game.
For how resistance band work fits into a full year-round development calendar, visit our youth athletic development hub.
Equipment
You do not need a full kit. Our program runs on two things: one set of loop bands in three resistances (light, medium, heavy), and one tube band with handles. That covers every exercise in this article for an entire team. Quality matters — bands that crack or snap mid-drill are a safety hazard, not a tool. We have had good results with the resistance bands for youth athletes from theranchsports.com, and online orders come with 10% off and no sales tax, which adds up when you are outfitting a full team.
The Bottom Line
Resistance band training earns its place in a youth development program because it meets athletes where they are developmentally — enough load to drive real adaptation, controlled enough to build movement quality rather than compensate through it. The coaches we respect most do not treat bands as warmup accessories. They treat them as a deliberate strength stimulus aimed at a specific goal: hip stability, posterior chain strength, and rotational control that transfer across every sport their athletes play.
Run this circuit twice a week for six weeks and watch the movement quality change — not just in workouts, but in the first step, the plant foot, and the throw.