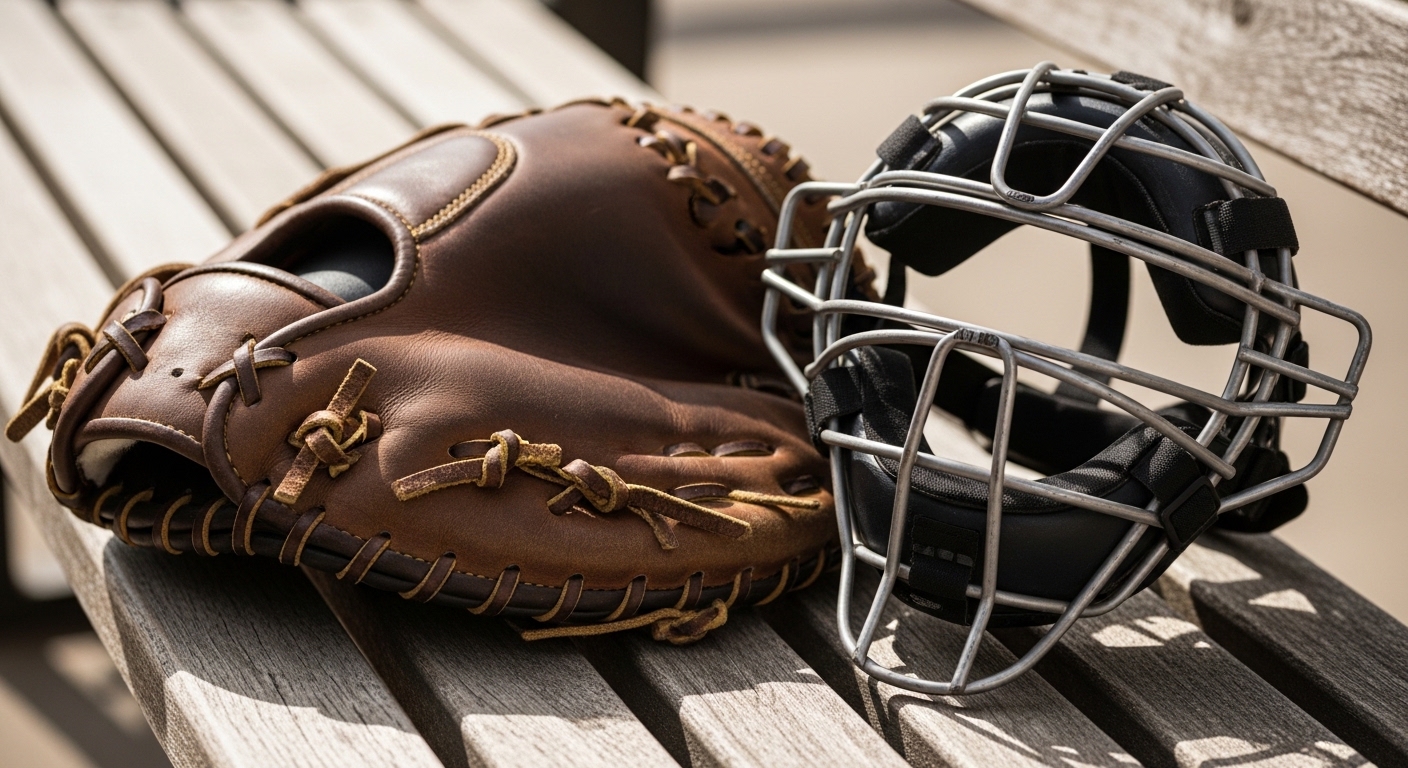
The first year I had a kid behind the plate who couldn’t stop the ball in the dirt, I assumed we had a blocking problem. We did — but not because of technique. His mitt was a 33-inch hand-me-down that swallowed his 9-year-old hand. Once we switched him to a properly sized 31-inch mitt, his blocking improved within two weeks. The gear was the problem the whole time.
The short answer: For most youth catchers aged 7–12, the best all-around choice is the Rawlings R9 (31.5”–32.5”) for players 10–12, or the Mizuno Prospect (31”–31.5”) for younger or first-year catchers. Both break in quickly, hold their shape through a full season, and won’t fight a kid’s hand. If budget allows a step up at 12U travel ball, the Marucci Acadia is worth the investment.
Here’s how we sort through the options for every age and level.
Why Catcher’s Mitts Are Different
Unlike a fielder’s glove (measured tip-to-heel), catcher’s mitts are measured by outer circumference. A 32-inch catcher’s mitt is not the same scale as a 32-inch first base mitt — it’s considerably smaller. That difference trips up parents every spring.
Mitts also carry far more padding and a closed web, which matters when a catcher is receiving 50 to 80 pitches in a game. The right mitt absorbs that repetition; a badly sized one builds bad habits and sore hands.
Youth Catcher’s Mitt Size by Age and Level
| Age Group | Level | Recommended Size |
|---|---|---|
| 5–8 | Tee-ball / coach pitch | 30”–31” |
| 8–10 | Recreational / 8U–10U | 31”–31.5” |
| 10–12 | Rec & travel / 10U–12U | 31.5”–32.5” |
| 12–14 | Travel / Junior League | 32.5”–33” |
| 14+ | High school | 33”–33.5” |
The most common mistake we see: parents buying a 32.5” or 33” mitt for a 9-year-old so the kid can “grow into it.” A mitt that’s too big will flop open, create an inconsistent pocket, and teach your catcher to trap the ball with both hands instead of making a clean one-handed catch. Fit for now — upgrade in a year.
Our Top Picks by Budget Tier
Entry Level ($40–$80) — Mizuno Prospect
The Prospect is the first mitt I recommend when a kid is trying catching for the first time or playing 8U rec ball. Synthetic leather breaks in straight out of the box — zero conditioning oil needed — and the 31” size fits players from about age 7 to 10. It won’t last five seasons, but it doesn’t need to. A kid this age will outgrow the size before the mitt wears out anyway.
The Prospect’s main limitation is padding. After a full season catching a strong-armed 10U pitcher, you’ll feel the ball through the heel on hard throws. Fine for recreational play; not ideal past 10U competitive.
Mid-Range ($80–$140) — Rawlings R9
This is the sweet spot for 10U through 12U players, which covers the bulk of competitive youth baseball. The R9 comes in 32” and 32.5” sizes, uses a pro-style pocket design, and needs roughly 15–20 hours of catch to break in fully. The padding holds up for an entire travel ball season.
I’ve had multiple players start a season with an R9 and still be using the same mitt at the end of their 12U year. For a 10–12-year-old in competitive baseball, I’d start here before spending $150 or more. You can browse youth catcher’s gear — including the R9 — at theranchsports.com, where you’ll find youth-specific sizing with 10% off and no sales tax.
Step-Up ($120–$180) — Marucci Acadia
Once a player is regularly catching 55+ mph at 12U travel ball, the Acadia becomes the right tool. Full grain leather means more break-in time upfront — plan 3–4 weeks of regular catch before games — but the pocket gets deep and stays there. The 32.5” size handles the transition to Junior League pitching without outfitting a kid in an adult mitt.
Serious Catchers ($200+) — All-Star CM3000 Pro Elite
For high school catchers or a 13–14-year-old playing competitive travel ball year-round, the CM3000 is the standard. The dual-post web and high-density padding absorb speed without the ball stinging through the palm. This is a multi-year mitt that develops a custom pocket over time. A significant investment — but for a kid who has committed to catching, it earns its price across multiple seasons.
What to Look for Beyond the Brand Name
Pocket depth. Young catchers need a medium pocket so they can pop the ball out quickly for throws. If your kid is starting to practice pitch framing, a consistent pocket creates a repeatable target for the umpire’s eye.
Thumb loop fit. Every manufacturer’s mitt fits differently through the thumb hole. Before buying, have your player squeeze the mitt closed — the thumb should feel snug, not floating. A thumb that slides around inside creates inconsistent catches game after game.
One-hand close. Watch whether your player can close the mitt cleanly using just the catching hand. If it takes two hands to get the mitt to close, it’s likely too stiff or too large. Young catchers build better mechanics when they can make a clean one-handed catch first, then bring the throwing hand in to secure.
Coach Nick’s 4-Step Mitt Evaluation Test
Whether you’re at a sporting goods store or checking a used mitt before buying, this is the quick field test we use to know if a youth catcher’s mitt is actually the right fit:
Breaking In the New Mitt
New leather catcher’s mitts need work before game day. For a complete break-in process covering conditioning oil, shaping, and timing, see our guide on how to break in a baseball glove. For catcher’s mitts specifically: focus the break-in work in the pocket rather than the hinge, since catchers receive the ball straight-on rather than raking grounders across the palm. Avoid microwave or oven shortcuts — heat breaks down leather fibers and significantly shortens the life of the mitt.
Matching Mitt to Player: Quick Reference
- Ages 7–9, first year catching: Mizuno Prospect, 31”
- Ages 10–11, rec or 10U travel: Rawlings R9, 32”
- Ages 11–12, competitive 12U travel: Rawlings R9 (32.5”) or Marucci Acadia
- Ages 13–14, serious travel: Marucci Acadia or All-Star CM3000
- High school: All-Star CM3000 Pro Elite
If your kid catches and also plays outfield or infield, position gloves and catcher’s mitts are entirely different tools. See our best youth baseball gloves 2026 guide for the right glove for every other position.
For more coaching resources, gear guides, and practice plans, visit our baseball coaching hub.