A 10-year-old I worked with last summer had textbook swing mechanics — balanced stance, good grip, level bat path. He just couldn’t hit live pitching. Nine times out of ten he was swinging at where the ball used to be. Every coach in the dugout was trying to fix his swing. Nobody was fixing his timing.
Timing starts with the load — the small weight shift and hip coil to the back leg that prepares the body to swing before the pitch ever arrives. When a young hitter has no load, or loads at the wrong moment, everything else falls apart regardless of how good the mechanics look on a tee.
The short answer: teach the load as a trigger tied to the pitcher’s motion, not as a standalone skill. As the pitcher’s front foot lands, the hitter’s load should be finishing — weight back, stride foot touching down, hips coiled and ready. The three drills below build that rhythm systematically, starting with a tee and working up to live pitch reads.
What “Load” Actually Means
Coaches use the word “load” to mean a dozen different things. For 8–12-year-olds, keep the definition narrow and physical: the load is the shift of body weight to the back leg and the corresponding coil of the hips and shoulders that stores energy before the swing. Think of pulling back a slingshot — the pull-back is the load, the release is the swing.
Without a load, a hitter swings entirely with their arms. They generate almost no rotational power from the legs and hips, and they’re chronically late because the body has no stored energy to release quickly. With a mistimed load — too early or too late — even a mechanically correct swing makes weak contact because the energy fires at the wrong moment.
The core problem with 8–12-year-olds isn’t that they don’t know how to load. It’s that they try to decide whether to swing and then load — doing the sequence completely backward. The load has to happen first, as part of reading the pitcher, and the swing decision comes after.
Why Timing Breaks Down at This Age
Two patterns dominate in youth hitters. The first is the flat-stand hitter: no load, swinging purely with arms, typically weak and late on everything, unable to drive the ball to the pull side. The second is the early-lunger: loads correctly but fires too soon, weight transferring to the front foot before the ball is even halfway to the plate — no power at contact, often jamming themselves on anything inside.
Both patterns share the same root cause: the load isn’t connected to what the pitcher is doing. The hitter is either ignoring the delivery entirely, or they’re guessing based on fear and committing too early.
Machine-pitch training makes this worse. When kids spend the fall and winter hitting off a machine, they calibrate their timing to a metronome — same speed, same arm height, same release point, every single rep. Then a real kid pitcher with a big leg kick or a slide step shows up and their timing is completely wrong. We see this every spring, and it’s exactly why the final drill in this sequence involves live reads rather than machine or tee work.
The 3-Drill Sequence
Run these in order at a batting station. Each drill builds one piece of the timing chain before you add the next variable.
The step-back works because it makes the load a physical action that happens before the swing, breaking the habit of standing flat and reacting. Most kids feel the difference in contact depth within the first five reps. If a hitter says “that feels weird,” that usually means they have never actually loaded before — and now they know what it feels like.
I had a 12-year-old third baseman who was casting the barrel out and rolling his wrists early on every swing. He had good intentions — he was trying to hit the ball hard — but his hands were leading his hips on every rep. We ran Hip-Lead Freeze twice a week for three weeks. By week four, his hands were staying inside the ball and his pull-side contact had improved noticeably. The exaggerated pause was the key: he needed to feel the sequence in his body before he could replicate it at full speed.
If a kid is still swinging at bad pitches in this drill, their load is not yet tied to the pitcher — they’re still committing on a guess. That tells you to run more reps of Drills 1 and 2 before returning here.
Age-Appropriate Cues That Actually Work
Biomechanics language fails with 8–12-year-olds. “Maintain hip-to-shoulder separation through the kinetic chain” is a 10-word way to confuse a 9-year-old. Here’s what we use in our program by age tier:
Ages 8–10: “Load like a slingshot.” “Step and pause.” “Squish the bug with your back foot.” Visual and tactile cues beat abstract descriptions every time at this age. If they can picture it or feel it, they’ll do it.
Ages 10–12: “See ball, spin hips.” “Hands follow hips — always.” “Stride foot lands, then you decide.” These athletes can handle a two-step sequence if you say it the same way every rep.
One adjustment that makes an immediate difference: vary your delivery rhythm during front toss. If you always throw on “three,” kids are timing you, not reading a pitcher. Count “one, two… two and a half… three” on some reps, or hold an extra beat before releasing. This is the closest thing to real-pitcher timing variability you can build into a structured drill, and it’s a gap we see in almost every youth hitting program — kids get groomed for machine timing and then struggle the moment a live arm shows up with an irregular delivery.
Common Mistakes to Fix In-Rep
Pulling the head. The chin comes off the ball before contact — usually a sign the hitter loaded late and is compensating with the upper body. Cue: “Keep your ear on your shoulder through the swing.”
Stepping in the bucket. Front foot bails toward the third-base dugout for a right-handed hitter. They committed early, and now the body is protecting itself from a pitch that was never inside. Run Step-Back Timing again until the stride goes straight.
Flat-footed load. Weight shifts to the back leg but the foot stays flat — no pivot point, so rotational power can’t transfer through the hips into the ball. Cue: “Get up on the ball of your back foot before you fire.”
Good load, wrong sequence. Kid gets into a strong load position and then rushes the hands before the hips finish turning. This is a sequencing problem, not a timing problem. Return to Hip-Lead Freeze and re-pattern the hands-follow-hips chain before adding speed.
Pairing These Drills With Your Practice Plan
These three drills run cleanly as a 30-minute batting station in any practice rotation. Our 10U baseball practice plan shows exactly how to structure station-based hitting work for this age group, and our batting cage station ideas covers how to maximize reps when time and cage space are limited.
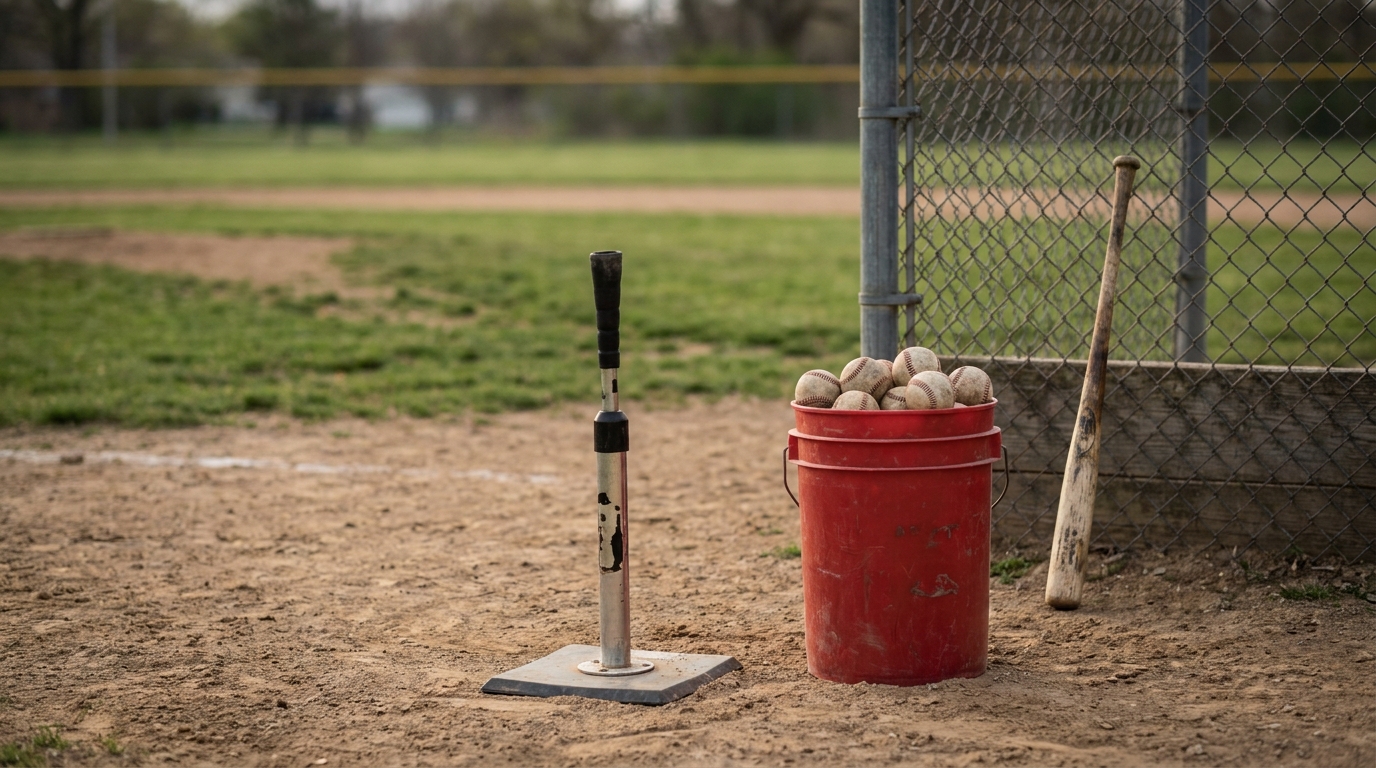
For tee and front-toss work, all you need is a solid adjustable youth batting tee from theranchsports.com — they carry USA-approved gear from rec through travel ball, and your families can use the link for 10% off with no sales tax. Once load and timing become automatic, the natural next step is building the bat speed to take full advantage of the position — our guide on how to build bat speed for youth hitters picks up exactly where this sequence ends.
For the full picture of how we develop hitters across all age groups, visit the baseball coaching hub.
Download this as a free PDF — get the free PDF here
Get "How to Teach Load and Timing to Young Hitters (Ages 8–12)" as a free PDF
Instant download, plus free coaching resources in your inbox. No spam.
✓ You're in — here's your download
↓ Download the PDFBookmark it for the field — and check your inbox for more free coaching resources.