A 13-year-old shortstop walked into tryouts last summer with a glove I recognized immediately — good leather, solid build, probably a $120 glove from two seasons ago. The problem was how it closed. When he squeezed it in the air, the thumb and pinkie folded straight across toward each other, closing flat through the finger stalls like a book snapping shut. For a first baseman scooping low throws that shape might work, but for a shortstop funneling a grounder into his palm, turning, and firing to first — it was a ball-eating trap. The glove was not wrong for him. It just had not been conditioned or shaped for his position since it came out of the box.
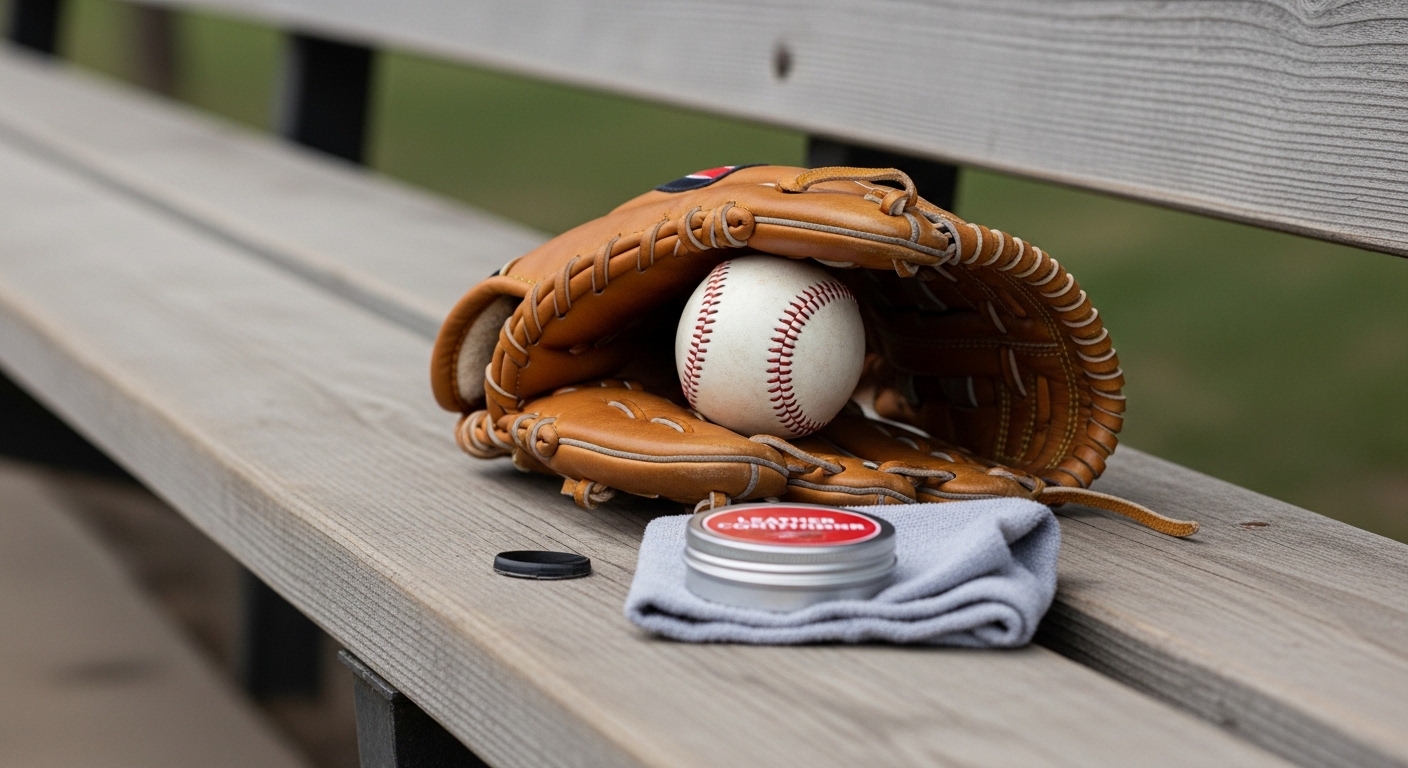
The short answer: Wipe the glove clean with a barely damp cloth, apply a thin layer of quality leather conditioner, work the pocket in the direction your position requires, and store it with a ball seated in the pocket. Most gloves need conditioning two to three times a year — at the start of the season, after extended wet weather, and before putting it away for winter.
What most glove care guides skip is the part about how you shape the pocket during conditioning. An infield glove should close differently than a first base mitt. If you condition and wrap a first base glove the same way you would treat a shortstop glove, you are fighting the leather all season.
What Glove Conditioner to Use (and What to Avoid)
Stick to leather-specific conditioners. These are our go-to options:
- Rawlings Glovolium — the standard for a reason; light, penetrating, will not over-soften the leather
- Nokona Classic Leather Conditioner — thicker, better for very dry or cracked leather
- Lexol — widely used on saddle and boot leather, excellent for season-long maintenance
- Pecard Athletic Glove Conditioner — popular among glove restorers and collectors
You can pick up Rawlings Glovolium and Nokona with 10% off and no sales tax at theranchsports.com.
What to avoid: petroleum jelly as a primary conditioner. A tiny amount in an emergency will not ruin a glove, but used regularly it over-softens leather and accelerates breakdown. Skip shaving cream unless it is specifically lanolin-based. Regular olive or vegetable oil is too heavy. And never — not even for 30 seconds — put a leather glove in a microwave or conventional oven. We have seen parents try this. It destroys the leather structure and speeds cracking.
Professional glove restorers on YouTube who document their conditioning process all make the same point: thin coats applied consistently beat one heavy soak. Leather can only absorb so much at once — the excess stays tacky on the surface and attracts dirt.
The Conditioning Routine (Step by Step)
Clean the glove before conditioning — dirt and field grime work into the leather if you condition over them.
Position-Specific Pocket Shaping
This is where most conditioning guides stop short. A glove that gets conditioned but never intentionally shaped will develop whatever pocket the player’s dominant squeeze pattern creates — which often is not position-correct. We have seen this confirmed in coaching resources focused on younger players too: kids who struggle catching are frequently not afraid of the ball so much as they are fighting a glove that will not close cleanly when they need it to.
How an Infield Glove Should Close
An infield glove — shortstop, second base, third base — should close top-to-bottom, thumb-to-pinkie, funneling the ball into the palm like a scoop. Squeeze it in the air and the thumb and pinkie should meet through the base of the fingers, not across them. This creates a rounded cup that channels grounders into the palm instead of letting them sit in the web for an extra tenth of a second before the player can transfer.
During conditioning, close the glove with your fingers pressing straight into the thumb from the pinkie side — the natural funnel direction. Work the heel open and closed to keep it from stiffening. Stiffness at the heel is where infielders lose clean catches on slow rollers and short-hop transfers.
How to Break In and Maintain a First Base Mitt
A first base mitt is not designed to have a deep, rounded pocket — it needs a wide, shallow scoop shape so the first baseman can reach in multiple directions while keeping his foot on the bag. The goal is a relaxed curve from thumb to pinkie, almost like a taco fold, with a flat palm area that gives the ball a soft landing on low throws.
When conditioning a first base mitt, open and close it with the thumb pulling away from the fingers rather than collapsing toward them. This keeps the pocket wide rather than cupped. Use slightly more conditioner on the thumb side — first basemen take constant stress there on off-line throws and digs in the dirt.
I had a 14-year-old first baseman last season whose parents had been conditioning his mitt like an infield glove for two years — squeezing it shut tight every time. By the time he came to us, the mitt had a deep, rounded pocket that was fine for catching a pitch but terrible for scooping. We spent the first two weeks re-training the leather through directional flexing during every catch warmup, actively pressing the thumb open on each rep.
Outfield Gloves
Outfield gloves need a deep central pocket to cradle fly balls. The conditioning priorities are keeping the back of the glove supple — outfielders flex it fully open reaching overhead — and deepening the center pocket with a full top-to-bottom squeeze. Apply conditioner in long strokes on the back panel and work the web open and closed so it stays flexible at the edges.
Catcher’s Mitts
A catcher’s mitt needs conditioning focused on the palm break — the crease where the mitt snaps shut on a pitch. Catchers who skip this end up with a mitt that will not fully close after a season of wear, which contributes to passed balls and slow transfers. Work the break by opening and closing the mitt 40–50 times after each conditioning session. Store with a ball pressed into the palm break, not the web. For position-specific shopping guidance, our best youth catcher’s mitt guide covers what to look for at each age level.
End-of-Season Storage
Before the glove goes away for winter, run the full conditioning routine above, shape the pocket intentionally, and store it indoors — not in a garage or car where temperature swings are extreme. A baseball in the pocket with a loose rubber-band wrap holds the shape through months of storage.
When the glove comes out in spring, condition it again before the first practice — not after the first muddy game. Leather that has cracked from winter dryness is much harder to restore than leather that is simply stiff. Once the top grain cracks, you are managing a losing battle.
For players still shopping for equipment, our youth baseball glove sizing guide covers fit by position and age, and our best youth baseball gloves roundup lists top options at each price point — both are part of the baseball gear and coaching resources we publish throughout the season on the baseball coaching hub.
If the glove is new and not yet broken in, start with our complete walkthrough on how to break in a baseball glove step by step. This conditioning routine is what keeps the glove game-ready after that initial break-in work is done.
The glove is the one piece of equipment that can last five, eight, even ten seasons with consistent care. Treat it like it is worth that kind of investment — because it is.