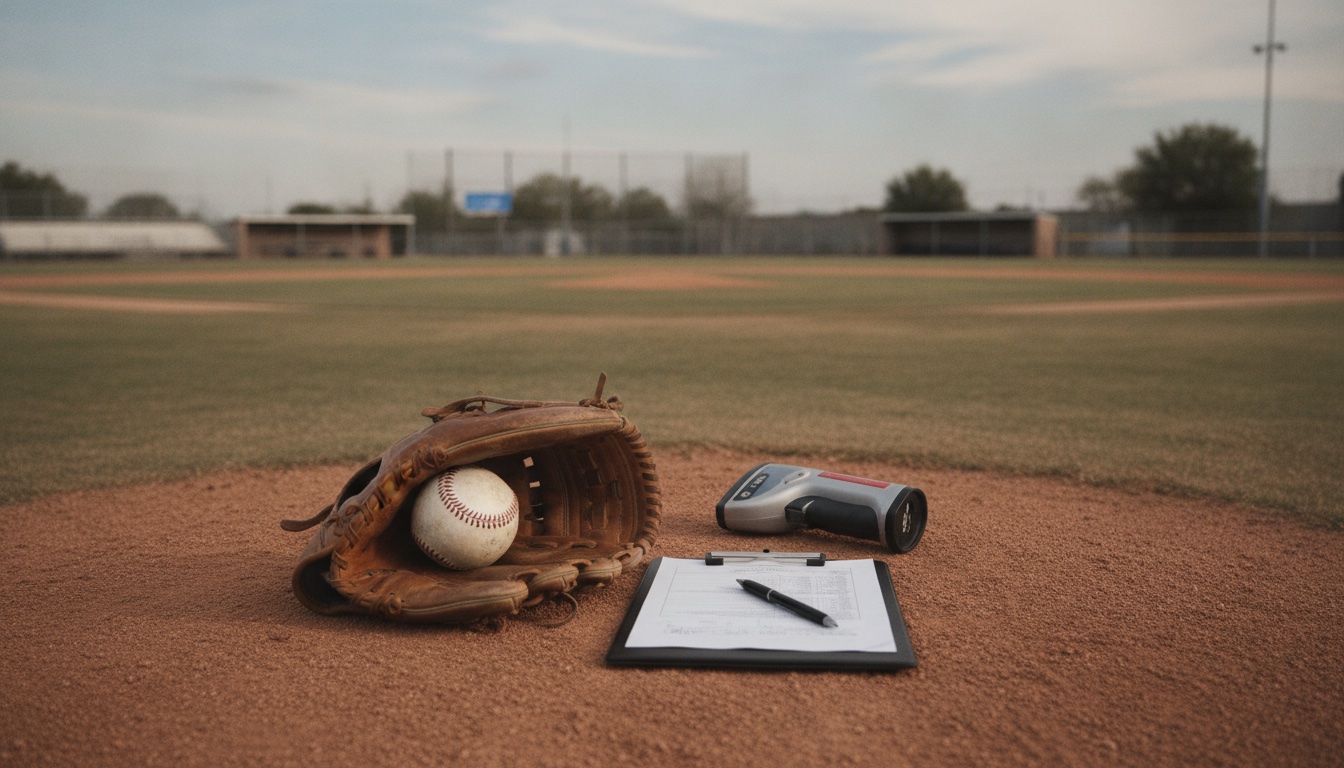
I had a 14-year-old pitcher last summer — strong arm, serious work ethic — and his coach sent him to us with a folder of videos and a list of drills to “fix his arm path.” The problem: nobody had actually looked at why his arm path was what it was. When we ran him through a real assessment, we found his hip internal rotation was restricted on the drive leg, his thoracic spine was stiff, and he had almost no posterior shoulder mobility. His arm path wasn’t a mechanics problem. It was a compensation pattern his body had built to protect itself. Every drill on that list would have made things worse.
Assessing a youth pitcher before assigning drills means running a structured evaluation of movement quality, mechanics, velocity, mobility, and strength history before writing a single training prescription. It takes 20–30 minutes. It tells you what an arm path problem actually is — not just what it looks like. Every drill you assign after that has a reason behind it.
Why Skipping Assessment Is the Most Common Coaching Mistake in Youth Pitching
Most coaches see a mechanical flag — an early arm, a collapsing front side, a short stride — and immediately reach for a drill they’ve seen online. That approach is backwards. The drill targets the symptom. The assessment finds the cause.
Tread Athletics detailed this in their January 2026 pitching assessment breakdown: coaches who skip evaluation and go straight to drill prescription frequently prescribe the wrong intervention. The assessment doesn’t just tell you what’s wrong — it tells you why it’s wrong, and what the body is actually capable of fixing right now.
For coaches working with pitchers ages 12–18, this matters more than ever. Bodies are changing. A 13-year-old in a growth spurt may have temporarily lost hip mobility he had at 11. A 16-year-old who specializes year-round may have a posterior shoulder capsule so restricted it produces a mechanical flag that looks exactly like a technique problem. These things only show up when you look.
Pairing this assessment framework with our deeper breakdown of common youth pitching mistakes gives you a complete picture: you’ll know both what to look for and what to do when you find it.
The 5-Part Youth Pitcher Assessment
Run this in order. Each step informs the next. You don’t need a Rapsodo, a force plate, or a pitching lab — you need 30 minutes, a phone on a tripod, and an open mind.
Turning Findings into a Drill Prescription
Here is how assessment output maps to programming:
Movement screen failures mean athletic movement comes before pitching mechanics. Start with hip hinge patterns, split-stance stability work, and anti-rotation core exercises before any pitching-specific drills. You cannot teach hip-shoulder separation to a pitcher who cannot lunge under control.
Mechanical flags in video mean you isolate one or two targets and address root cause, not symptom. An early arm path driven by a restricted posterior capsule gets treated with shoulder mobility work — not “keep your elbow up” cues. The intervention has to match what the assessment found.
Below-benchmark velocity means you check mobility and strength before adding velocity drills. Pitchers who are below benchmark and show significant hip IR restrictions are usually best served by mobility work for four to six weeks before any intent-based throwing program begins.
Mobility restrictions get dedicated corrective drills. Hip IR restrictions: 90/90 hip rotations, pigeon stretch progressions, band-resisted IR work. Posterior capsule: sleeper stretch, cross-body stretch. Thoracic spine: foam-roll thoracic extension over a roller, open-book rotations, quadruped rotation drills.
High specialization plus no strength base plus arm fatigue history means reduce competitive volume, add two non-pitching strength sessions per week (bodyweight and band), and delay drill-intensive programming by three to four weeks.
One Assessment That Changed a Season
I had a 15-year-old on our high school roster who had been told by three different coaches that his “arm action was broken.” The mechanics video showed an early forearm layback — which looks alarming but is often not a technique issue at all. We ran him through the full assessment. His thoracic rotation to the throwing-arm side was under 35 degrees. His drive-hip IR was borderline. His posterior shoulder capsule was the tightest I had tested in two seasons of running assessments.
We shelved every mechanical drill for three weeks. He did thoracic open-books, sleeper stretches, and hip IR band work only. When we brought him back on the mound, his “broken arm action” had largely self-corrected — because his body finally had the range of motion to sequence the way it was supposed to. He finished that spring 4-1 with the best velocity of his career. The assessment didn’t fix his arm. It told us his arm was fine and the tissue around it was not.
Connecting Assessment to Your Practice Plans
The assessment isn’t a one-time document. Bring the findings back to every bullpen session for the first three to four weeks. “We flagged that your front foot placement is variable — today we’re throwing off a landing target and tracking where you touch down.” That feedback loop is where development actually happens.
For your baseball coaching hub, pairing this assessment framework with a structured drill progression gives you a complete pitching development system. Our full youth baseball pitching drills library organizes progressions that pair directly with the five assessment areas above — each drill sequence is anchored to a specific movement or mechanical finding, which means no more guessing what rep to run next.
Two Red Flags That Should Stop Pitching
Two findings end the assessment session and mean a parent conversation before the pitcher throws competitively again. First: any current arm pain — not soreness, not fatigue, pain — reported anywhere from the elbow to the shoulder. Second: a reported history of elbow or UCL concerns in the past six months combined with current arm soreness. These are the two most common precursors to serious injury we have seen across junior high and high school pitching over two decades of coaching. When you find them in assessment, you have probably just saved a kid’s arm.
The Bottom Line
Assessment is not a luxury for elite programs. It is the minimum standard for responsible pitching development at any level. Twenty-five minutes of structured evaluation before a single drill is assigned means every rep your pitcher takes after that has a real purpose behind it — and you are not accidentally reinforcing a compensation pattern that was protecting an underlying problem.
Download this as a free PDF — get the free PDF here
Get "How to Assess a Youth Pitcher Before Assigning Drills" as a free PDF
Instant download, plus free coaching resources in your inbox. No spam.
✓ You're in — here's your download
↓ Download the PDFBookmark it for the field — and check your inbox for more free coaching resources.