Last fall, I had a 12-year-old on our program who’d been lights-out all summer — then watched his command fall apart in the first week of tryouts. He wasn’t hurt. He wasn’t tired. He’d hit a growth spurt over August, his arms were two inches longer, and he hadn’t recalibrated where his release point actually lived. When we filmed his bullpen on an iPhone and he saw the difference in his arm path from his best summer outing versus his current delivery, it clicked immediately. Two weeks of these drills and his command was back.
The short answer: Arm slot is the angle your arm travels through at release — not a universal “right” slot, but the one that’s consistent and natural to your body. For pitchers ages 9–14, the goal isn’t to force an over-the-top or three-quarters arm path. It’s to build a repeatable path so the arm arrives in the same position every single pitch. These six drills — progressing from stationary to full delivery — build that muscle memory without needing a mound, catcher, or elaborate setup. A net and a partner are enough.
Why Ages 9–14 Is the Window That Matters
Most arm problems we see in high school pitchers trace back to habits formed right here. A 9-year-old drops his elbow because nobody caught it. By 14 he’s throwing with a drop-and-drag arm path that puts torque on his UCL and costs him spin. Pitching development coaches who track youth arm mechanics confirm that this is the window when arm path habits calcify — after that, rebuilding takes much longer, though it’s not impossible.
What most arm slot content misses: growth spurts reset the equation. A pitcher with clean mechanics at 11 can look like a completely different thrower at 13 simply because his lever lengths changed. Build a film check into the start of each new season — 60 seconds of phone footage from behind can catch a slot drift that would take months to diagnose otherwise. Arm slot development belongs in every program’s foundation, right alongside the rest of your baseball coaching fundamentals.
The 6 Arm Slot Drills
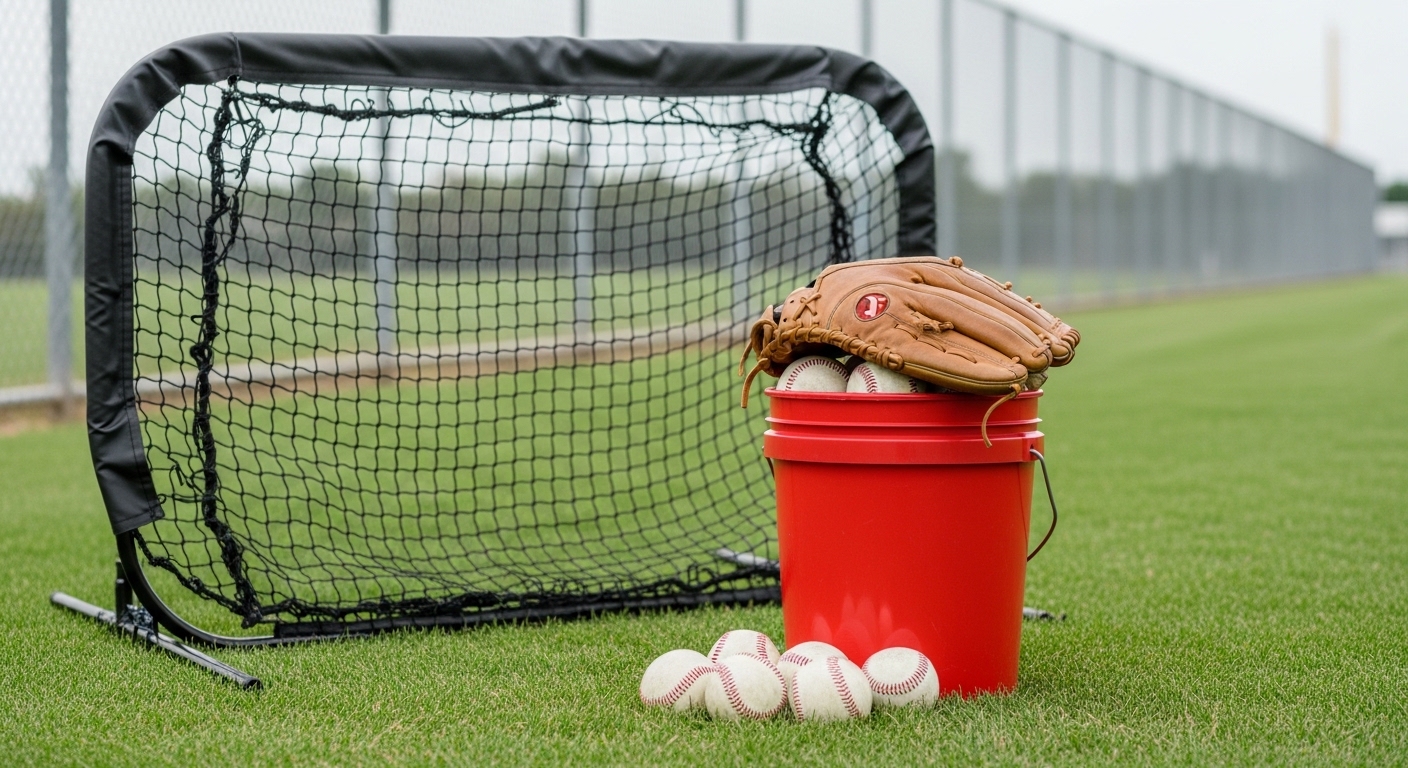
You don’t need a mound for any of these. A portable pitching net makes setup faster — we use a youth pitching net at theranchsports.com (10% discount, no sales tax) and it pays for itself in reps you never have to chase. A fence or backstop works fine too. Run three to four sessions per week, 3 sets of 8–10 reps per drill.
The Age Split: What Changes Between 9 and 14
Most pitching drill articles list the same drills for a 9-year-old and a 13-year-old as if they’re the same learner. They’re not — and the dose matters.
Ages 9–11: Use drills 1–4 only. Skip the stride drill and phone film drill at this age — too many feedback layers creates paralysis. Keep coaching cues to one per rep. Volume matters more than precision: 10 quality focused reps beats 30 distracted ones. Attention windows are short; drop these into normal practice in 5-minute blocks, not as a standalone bullpen session.
Ages 12–14: All six drills, including the phone film component. Older pitchers can genuinely self-coach with visual feedback in a way younger kids can’t. At 12–14 they’re building the pitch arsenal that will define their high school career. Pair this work with hip mobility exercises — stiff hips are often the upstream cause of a late, dropped arm that looks like an arm slot problem but isn’t.
Why the Lower Half Is Actually the Root Problem
Here’s what most arm slot content misses entirely: the arm doesn’t decide where it slots. The lower half does. When hips rotate early, the arm has to rush to catch up — and it shortcuts through a lower, more open path. Every time.
I had a 13-year-old last season who’d done two solid weeks of knee drills with zero visible improvement. In isolation, his arm looked clean. We filmed him during a full delivery and his hips were firing two full counts before his arm loaded. The arm slot wasn’t the problem — the sequencing was. Once we added one hip-hold cue (“keep your hips closed until the front foot lands”), his arm slot cleaned up in a single session.
If these drills aren’t moving the needle, look at the lower half before you keep drilling the arm. This is also why arm slot work belongs inside a structured practice block, not tacked on at the end of a session. Our 12U baseball practice plan shows how to build 10-minute mechanical blocks before bullpen — that’s where the reps accumulate across a full season.
How Often and When to Run These Drills
Three to four times per week, 10–15 minutes before throwing. In the off-season, these drills can be the bulk of pitching work — high-rep, low-intensity, no mound required. The goal is muscle memory, not effort. Light throws with a clean arm path beat hard throws with a broken one every time.
If you’re ready to introduce off-speed to a pitcher who’s still cleaning up his arm slot, our breakdown on when to teach youth pitchers a changeup covers that decision — arm slot stability is one of the readiness checkpoints we use before adding a second pitch.
Download this as a free PDF — get the free PDF here
Get "Arm Slot Drills for Youth Pitchers Ages 9–14" as a free PDF
Instant download, plus free coaching resources in your inbox. No spam.
✓ You're in — here's your download
↓ Download the PDFBookmark it for the field — and check your inbox for more free coaching resources.