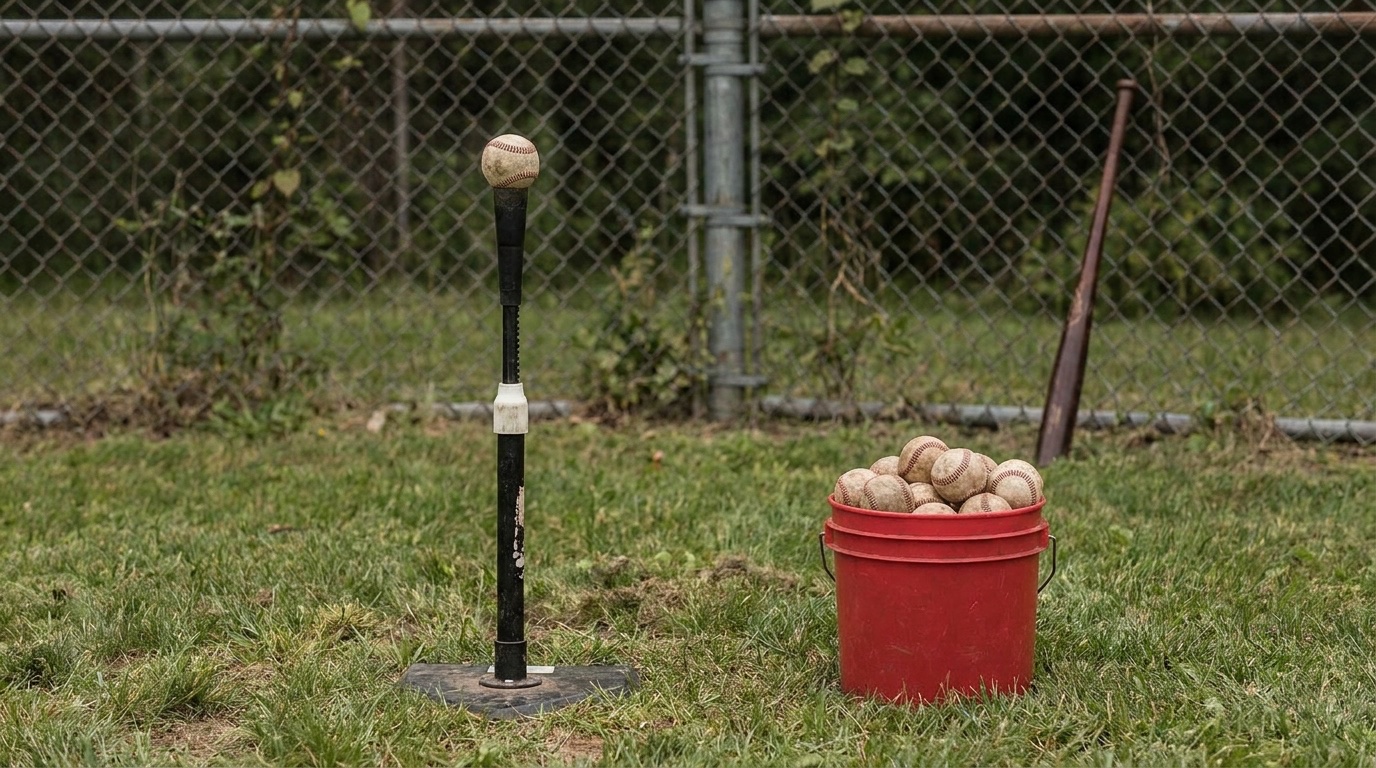
Last spring, one of our 12U shortstops took eleven consecutive exit-velocity swings off the tee — line drives to the pull side, straight away, opposite field — everything clean. Two innings later he took a called third strike on a pitch three inches off the inside corner. Bat on his shoulder, totally flat-footed. After the game I asked what happened. He said, “It just didn’t look right.” He’d spent a month training his swing. We’d never spent a day training his adjustability.
That conversation changed how we structure every hitting station.
Adjustability at the plate comes down to three trainable dimensions: pitch height, horizontal location, and timing variation. You build it as a deliberate progression — one variable at a time — not as a checklist of drills thrown at hitters in random order. The five-drill sequence below takes 20–25 minutes, installs clean decision-making habits on top of mechanics, and drops directly into any batting station or cage rotation. For coaches working through our baseball coaching hub, this is where we start when a hitter looks great in BP but freezes on anything off-location in games.
Why Adjustability Fails in Games Even When BP Looks Great
Most youth hitting drills give hitters exactly what they shouldn’t get at the plate: predictability. Fixed tee height, front toss from the same spot, straight fastballs from the same arm slot. The result is a hitter who looks great in BP because the conditions match what they trained for — and gets exposed the moment a pitcher changes any variable.
This is different from bat speed. Bat speed is a force-production quality — how fast the barrel reaches the contact zone. Adjustability is a decision quality: how fast a hitter identifies pitch location and re-maps the swing to match. You can have elite bat speed and zero adjustability. Plenty of youth hitters do, and they’re the ones who look great until they see a pitch they haven’t grooved for. We cover bat-speed development separately in how to build bat speed for youth hitters — build both qualities, but train them as distinct things, because the drills that build one don’t build the other.
The biomechanics matter here too. Research from Driveline Baseball’s motion-capture work shows that an optimal attack angle of 8–12 degrees produces the best hard-contact rates, and that a bat path matching the pitch plane for a longer window — rather than a steep chop or an aggressive uppercut — creates more margin when hitters need to adjust. When the barrel stays on plane, small location errors don’t become misses. That on-plane path is the mechanical reason adjustability training is worth the practice time: you’re not just teaching hitters to recognize different pitches, you’re teaching them to stay on plane while doing it.
Age-Specific Notes Before You Start
Under 10: Stop at Drill 3. The hip hinge foundation and height contrast are the whole session for most 8U and 9U hitters. Variability at this age means two heights and two locations, not random mixes.
10–12: Drills 1–4 in full. Hold Drill 5 until Drill 4 is consistently producing quality contact. Rushing the unpredictable pitch-mix live BP before location toss is clean builds reactive guessing, which is the opposite of what you’re training.
13 and up: All five drills, with Drill 5 expanded to include varying arm slots and speeds where possible. High-velocity machines and unpredictable pitch mixes are replacing groove-only rep work at elite youth development programs — this is the direction the game is moving, and your hitters need the exposure.
The 5-Drill Adjustability Progression
The sequence adds one layer of difficulty per drill. Each drill assumes the previous one is clean. Resist jumping to Drill 4 or 5 without building the foundation in Drills 1 and 2 — the hip hinge and contact-point map are the reason the later drills work at all. If you want the broader swing-build order these sit inside, start with our hitting drill sequence progressions.
What You’ll See When It’s Working
The tell that this progression is transferring to games is not exit velocity — it’s swing decisions. Hitters who’ve built adjustability start taking hard cuts on pitches in different zones instead of taking called strikes on pitches they could’ve hit. They pull hands in on inside pitches naturally. They stop getting jammed because they’ve pattern-matched to the inside third, not just the middle-away groove they spent months in.
I had a 13-year-old in our program last fall — passive hitter, took strike one every single at-bat, coaches calling him “patient” when what he actually was, was unsure. Three weeks running this progression, he started recognizing the fastball in at Drill 4 on rep one. Six weeks in, he was the most aggressive hitter in our lineup on inside pitches. The passive approach disappeared when the competence showed up. We didn’t build confidence separately; we built the skill and the confidence was a side effect.
Fitting This Into Practice
This progression works as a self-contained station in a batting cage rotation — 20–25 minutes per group, two to four hitters rotating through. It also pairs naturally after a dedicated load and timing block. If your hitters are still fighting an early trigger or over-stride, build that foundation first with a load and timing session before adding location stress. Adjustability work on top of a broken timing pattern just trains faster wrong.
For hitters under 12, complete Drills 1–3 before moving further. Drills 4 and 5 are genuinely demanding — they stack cognitive load on top of mechanical execution — and pushing them before the foundation is ready builds reactive guessing habits instead of real pitch recognition.
Download this as a free PDF — get the free PDF here
Get "Adjustability Hitting Drills for Youth Baseball: 5 Steps" as a free PDF
Instant download, plus free coaching resources in your inbox. No spam.
✓ You're in — here's your download
↓ Download the PDFBookmark it for the field — and check your inbox for more free coaching resources.