Last spring, I had a 10-year-old on our U10 side who was one of the fastest dribblers I had coached at that age. On breakaways she would burn through two defenders — and then, the moment a clear shot opened up, she would slow down, glance at the keeper, and put the ball right into his hands. She was not scared to play. She was scared to shoot. We see some version of this player every single season.
The best youth soccer shooting drills combine isolated technique work with game-like pressure so that pulling the trigger becomes automatic — not something players think about when the moment arrives. Start close to goal, build mechanics with stationary and slow-roll reps, then add angles, defenders, and competitive scenarios. With 10–15 quality shots per player per session, most players wire the habit into their match instincts within four to six weeks.
Why Young Players Miss Easy Shots
Power is almost never the real problem. Young players miss because of three fixable errors: the plant foot lands behind or in front of the ball instead of beside it, they look up at the goal at the moment of contact, or they approach straight-on and tap a soft inside-foot shot when the situation calls for a driven finish.
Before running any of these drills, give your players a three-point checklist:
- Plant beside, not behind — non-kicking foot alongside the ball, toes pointed at target
- Eyes on ball at contact — look up after the kick, not during
- Lock the ankle — foot flexed, toes down, firm surface through the ball
Once players know this checklist by heart, they can self-diagnose when a shot goes wrong. That is the real goal: players who can think for themselves during a game, not players who wait for a coach to tell them what went wrong.
Age-Appropriate Progressions: Not Every Drill Belongs at Every Age
Most drill lists skip this entirely, so here is what our team has found actually works by age group.
Ages 5–8 (U6–U8): Skip technique isolation. Use small goals, short distances, and lots of touches. Make shooting a game — “Can you score 3 in a row?” works better than a technique lecture at this age. Long lines with long waits between touches kill the session.
Ages 9–11 (U10–U12): Technique instruction genuinely lands at this stage. Teach the three-point checklist, run stationary and slow-roll drills to wire the mechanics, then layer in dribble-and-shoot progressions. Two-touch finishing is teachable here.
Ages 12+ (U13 and up): Add angle variety, defensive pressure, volleys, and driven strikes from 18–20 yards. These players can handle multiple feedback cues in the same session without losing confidence.
If you are newer to the sideline, our guide to coaching youth soccer for the first time covers how to organize a session before adding drill complexity like this.
The sequence below is built for U10–U14, with simplification notes for younger groups throughout.
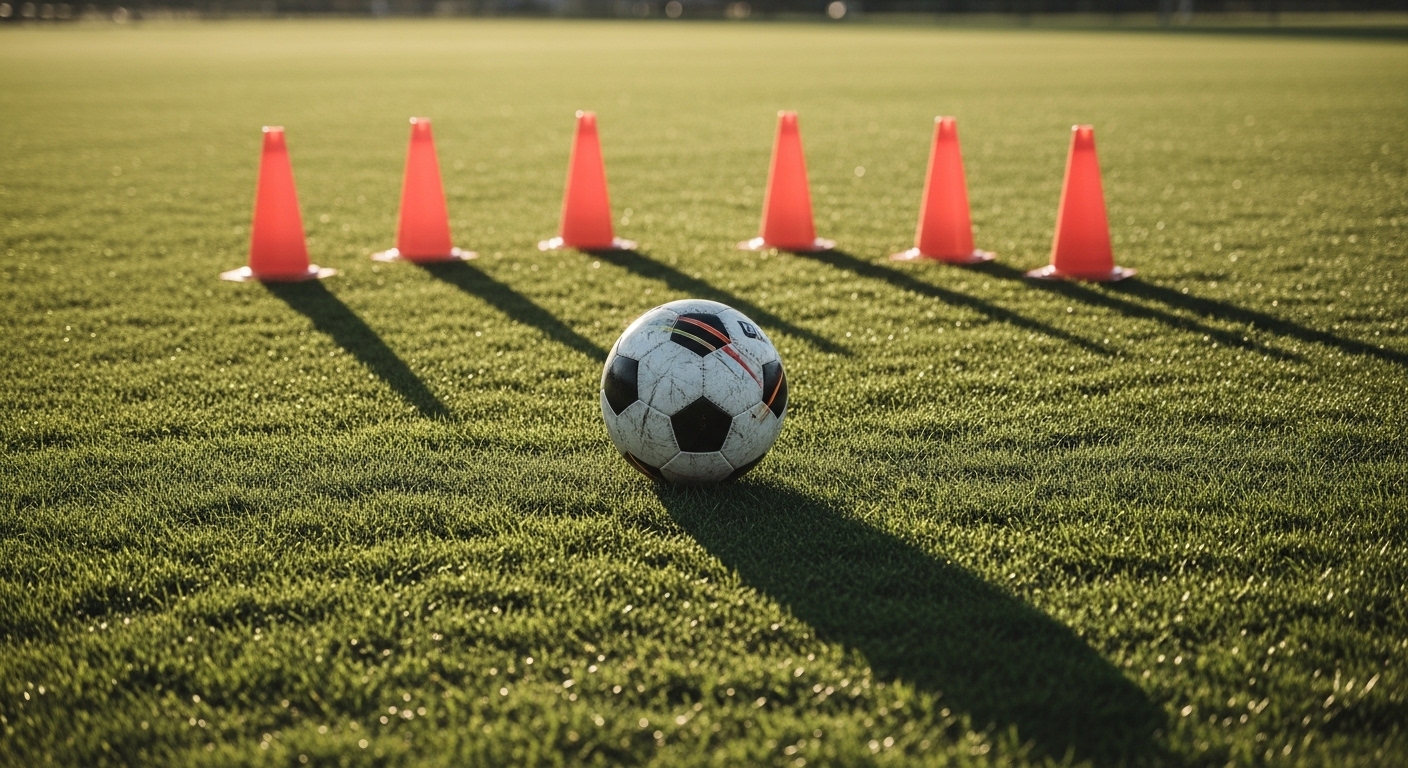
The 7-Drill Shooting Sequence
Run these drills in order. The progression moves from isolated mechanics to game-like finishing so each drill prepares players for the next.
The Goal-Shy Player: What We Actually Do
That 10-year-old I mentioned? We kept her in Drill 7 for three consecutive weeks. The point system removed the binary pressure of “did I score?” — she was competing for points, and shooting more meant competing harder. By week two she was calling the far zone just to chase the bonus points.
The pattern we see repeat across seasons: players who freeze on shots have often been over-coached on possession — “do not lose the ball” becomes “do not take risks” becomes “do not shoot.” Drills where shooting more is always the right call re-wire that instinct directly.
If you have a goal-shy player in your group, run them through extra reps in Drill 7 and hold off on Drill 6 until the shooting habit is wired. Add defensive pressure after the habit forms, not before.
Fitting This Into a Full Practice Plan
These seven drills make a self-contained 50-minute shooting block that fits naturally between your technical warm-up and your end-of-session scrimmage. To see how a shooting block sits inside a full 60-minute session — including transitions, warm-up structure, and small-sided games — our U10 soccer practice plan lays out the whole framework.
Shooting also sharpens when passing improves. When players receive cleaner balls into their feet, they have more time and better angles to set up a quality shot. Pair this drill block with our youth soccer passing drills the following week for a natural complement to what you built today.
For a full technical progression by age group — including more on finishing as players move into U13 and beyond — visit the soccer coaching hub.
Download this as a free PDF — get the free PDF here
Get "Youth Soccer Shooting Drills: 7 Progressions" as a free PDF
Instant download, plus free coaching resources in your inbox. No spam.
✓ You're in — here's your download
↓ Download the PDFBookmark it for the field — and check your inbox for more free coaching resources.