Last Tuesday our U10 group ran a passing session that looked exactly like practice — players passing the ball cleanly in pairs, footwork crisp, coaches nodding — and then the scrimmage started and it all fell apart. No one was open. No one could find a teammate. The passes they had drilled for 20 minutes disappeared the moment a defender showed up.
Sound familiar? That is the gap between drilling a skill and actually building one.
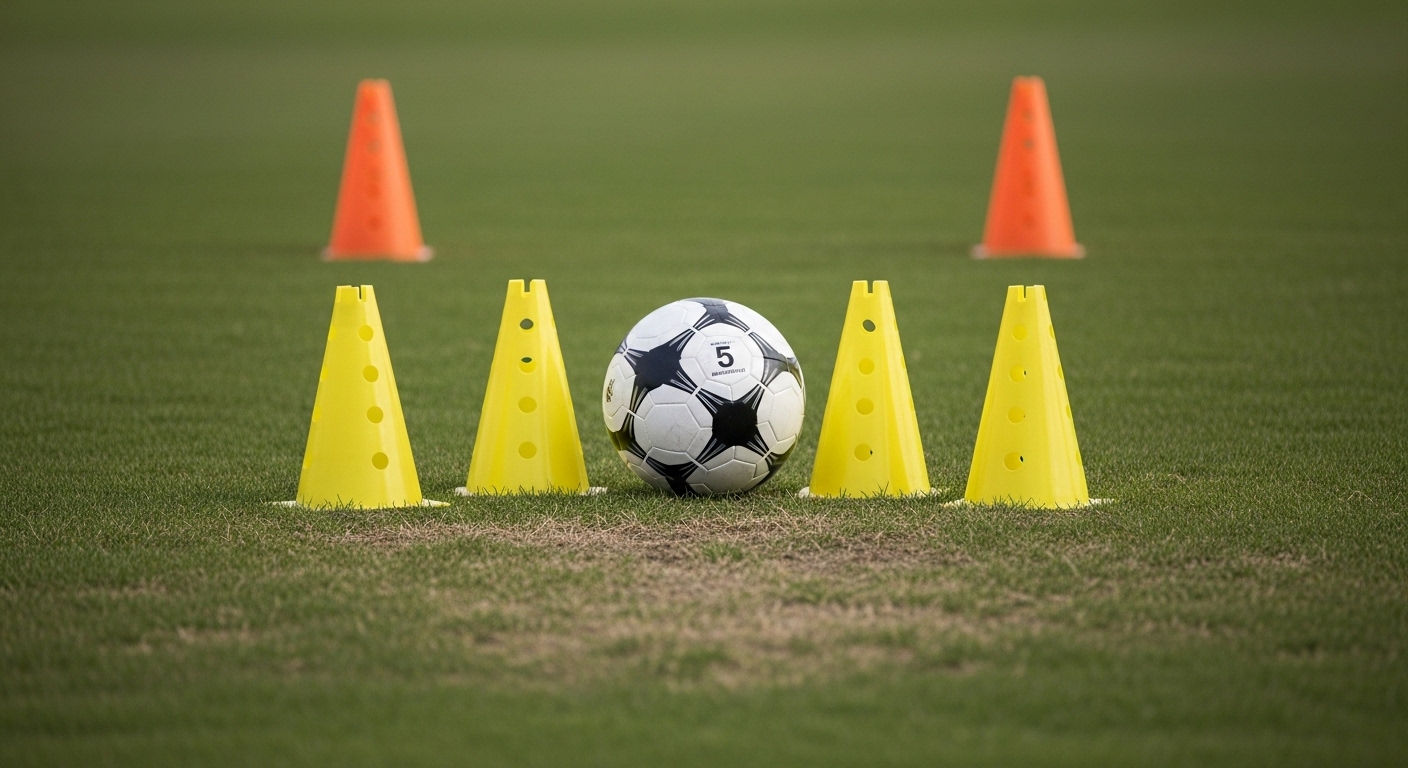
The short answer: The best youth soccer passing drills move players from static technique into live pressure within a single session — and they start with how players receive, not just how they kick. The six drills below are sequenced to do exactly that, ending with a full 60-minute session plan you can run tomorrow.
The One Cue That Changes Everything: Open Your Gate
Most youth soccer resources focus on the pass — weight, angle, inside-of-the-foot contact. That stuff matters. But the bigger unlock for players under 12 is what happens before the ball arrives.
We call it “opening your gate.” Before a pass reaches you, your hips should already be turned to give yourself the widest possible view of the field. Not squared up to the ball. Open — like a gate swung wide — so that when the ball arrives, you can already see where it is going next.
Watch a technically sound U12 player and a struggling one. The struggling one faces the ball square, receives it, then looks up. That half-second pause — that is where possessions die. The sound player has already scanned left and right during the ball’s flight. The decision is made before the touch.
Teaching this takes repetition at the start of every session. Before we run a single drill, we walk players through the body position: receive-side foot pointing toward the ball, non-receive hip open toward the interior of the field, chin up. “Show me your gate.” Kids get it fast when you frame it that way.
This cue transfers in ways that extend well beyond soccer — more on that in a moment.
The 6-Drill Passing Sequence
These drills scaffold from static technique into full pressure. Run them in order and they build on each other. The first two are technique-focused. Drills 3 and 4 add movement triggers. Drills 5 and 6 introduce live defenders.
Scaling by Age Group
U8 (ages 6–8): Skip Drills 5 and 6 entirely. Keep pairs and triangles, slow the pace down, and spend most of your gate-check time simply freezing players and adjusting their hip position by hand. At this age, the physical sensation of an open body position matters more than the cognitive cue. Use 5–7 yard distances.
U10 (ages 8–10): Run Drills 1–5. The Rondo works well here but shrink the grid to 8x8 and use patient defenders who are told to cut passing lanes rather than chase. Gate vocabulary lands well with this group — they like having a name for the concept.
U12 (ages 10–12): Run the full sequence. U12 players are ready for the Trigger Gates cognitive load and can handle the third-man run concept. Add a constraint to Drill 6: passing to yourself (a self-pass off the ground) does not count toward the three-pass requirement. This pushes them toward combination play.
What Coach Nick Saw on a Wednesday Afternoon
I coached a player — I will call him Marcus — who was a strong U11 soccer player but also played point guard on his school basketball team. Midway through the fall season, something clicked. He started receiving passes in a way that was almost eerie — always facing the right direction, always a step ahead of the pressure.
I asked him about it after practice. He said his basketball coach had been drilling him on seeing the floor before he caught passes. The open body position. The pre-scan.
He had cross-trained the cue without knowing it.
That is what we now call athletic transfer — the peripheral vision habits, the spatial memory of where teammates are moving, the ability to track multiple objects at once. These are not soccer-specific skills. They are cognitive athletic skills that get built through repetition of exactly this kind of structured passing work. For players under 12, you are not just teaching soccer. You are building the perceptual engine that will serve them in every field sport they play. The gate cue, the scan-before-touch habit, the three-pass sequence under pressure — these are deposits in an account they will draw from for years.
Equipment Notes
For most of these drills you need flat discs or small cones for triangle markers, a set of poles or small goals for the gates in Drill 5, and a bag of size-3 or size-4 balls depending on age group. We run everything with size-4 for U10 and up.
If you are rebuilding your training kit or starting a new program, keep it simple: a tub of disc cones, a set of agility poles, and two colors of training bibs cover every drill in this article and most of what you will run all season.
How to Run This as a Full 60-Minute Session
Here is how we structure the complete session when we have a full hour:
- 0:00–5:00 — Arrival, light movement, gate-check introduction (show the body position, no ball)
- 5:00–13:00 — Drill 1: Gate Check Pairs
- 13:00–21:00 — Drill 2: Triangle Passing, Static
- 21:00–31:00 — Drill 3: Trigger Gates
- 31:00–41:00 — Drill 4: Wall Pass and Third-Man Run
- 41:00–53:00 — Drill 5: Gates Rondo 4v2
- 53:00–65:00 — Drill 6: Live 5v5 Passing Game (run long if energy is high)
- 65:00–70:00 — Cool down, one coaching point from the session, players name one thing they will remember
If you only have 45 minutes, cut Drill 3 and shorten the Rondo to 8 minutes. The sequence still works — Drill 4 carries enough movement trigger work on its own.
The through-line for the whole session is the gate cue. Say it at the open, reinforce it at every drill transition, and use it as your debrief anchor at the end. By the time the session is over, players should be able to tell you what “open your gate” means and why it matters — not because you lectured them, but because they felt it in six different contexts.
That is how technique becomes habit.
Download this as a free PDF — get the free PDF here
Get "Youth Soccer Passing Drills: The Complete Practice Guide" as a free PDF
Instant download, plus free coaching resources in your inbox. No spam.
✓ You're in — here's your download
↓ Download the PDFBookmark it for the field — and check your inbox for more free coaching resources.